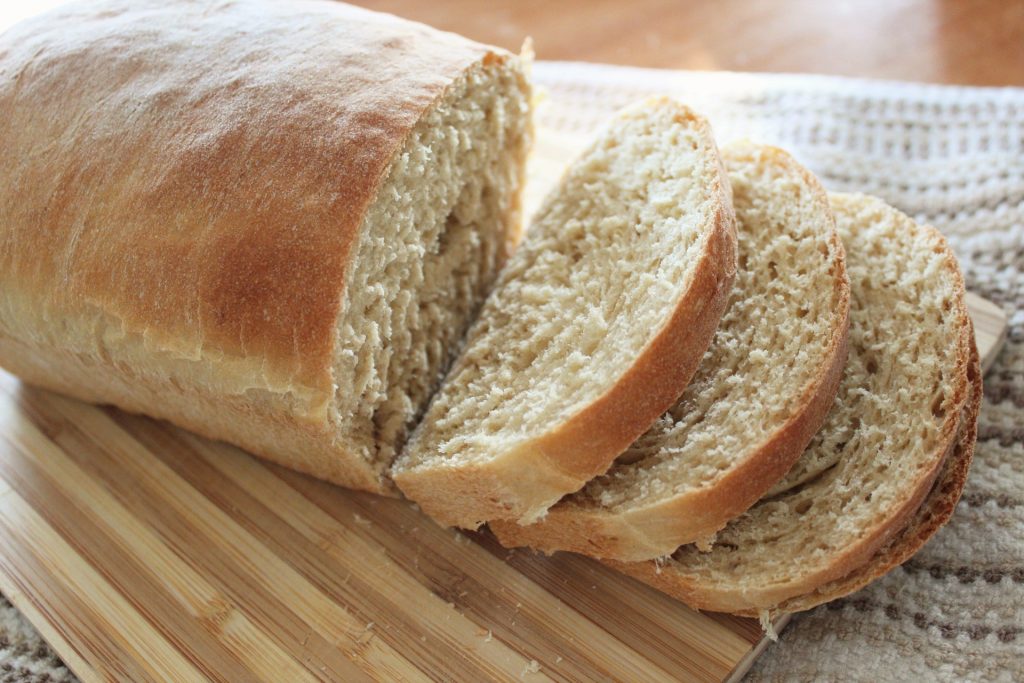
Once upon a time I bought a bread machine. That’s when I started dabbling in bread making and following the recipes that came with the little booklet inside the box.
It worked great and yielded very yummy bread for probably a good six months. Then one day my bread machine broke and my yummy bread was no more.
I shelved it and told myself I would look into the warranty when I had a chance. In the meantime, I would try to continue making my bread by hand. I was feeling adventurous at the time I guess and I really enjoyed having the smell of homemade bread wafting through the house.
I took my favorite bread recipe from the bread machine and adapted it so I could make it by hand. It was the same recipe that came with my bread maker with just a few minor adjustments. Thanks to a few great videos, I learned how to knead bread and form it into a loaf.
At first, I just made one loaf at a time for practice. When I had mastered that, I began making four loaves at a time in order to make enough to last my family a week. (We really really liked bread at the time, so one loaf was lasting usually two days at the most.)
So here it is. I’ve passed this recipe on to several friends over the years who have had great results as well. It’s quite delicious and easy to master after making it a few times.
I’ve found the key to great bread is to knead it for the full 10 minutes. No shortcuts here! If you have a powerful stand mixer, that would work well for one loaf.
We’ve also had to play around with creating a “proofing box” out of our oven for those cold winter days when we lived up in the North. But that will be another post for another day.
Hope you enjoy this as much as we do!
Honey Wheat Sandwich Bread
First, round up your ingredients. You only need an egg and a handful of regular pantry items to make a single loaf of bread.
Ingredients: 1-4 eggs (depending on how many loaves you make), salt, honey, all-purpose flour (bread flour works too), whole wheat flour (white whole wheat is wonderful), olive oil, and instant yeast.
A Quick Word on Yeast:
I’m sure you can use any type of yeast you have on hand for this recipe, but instant yeast works well for me, therefore that is what I stick to.
My little bit of research on the subject has told me that in order to give Active Dry Yeast a “good start” it’s best to add it to a liquid and sugar combo before adding it to the other ingredients. Letting it re-hydrate in sugar water for 5-10 min allows it to become active and work better for your dough.
In that case you could play around with incorporating it by adding the honey and water/egg mixture to your bowl first, then add the yeast and allow it to work and foam up a bit. I’m no expert on yeast, so again you will have to experiment. Instant yeast does not require this step which saves me time. I used it for the bread machine and it continues to work well for all of my dough recipes.
If you are using instant yeast as I recommended, feel free to add all of the ingredients to your bowl in no particular order.
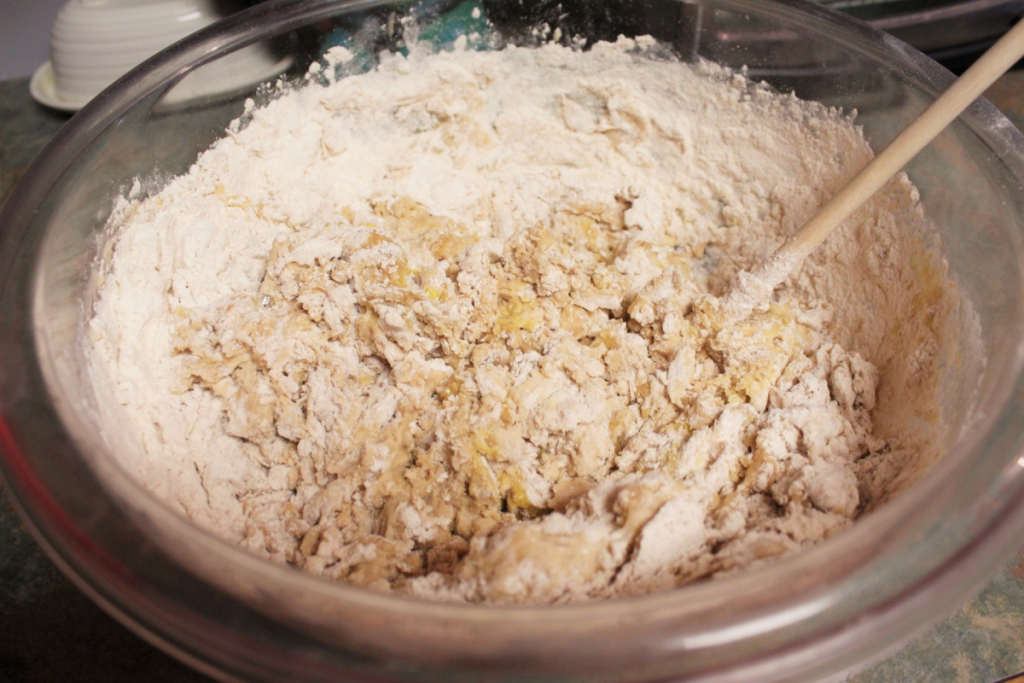
Mix with a large rubber spatula or wooden spoon until a ball starts to form.
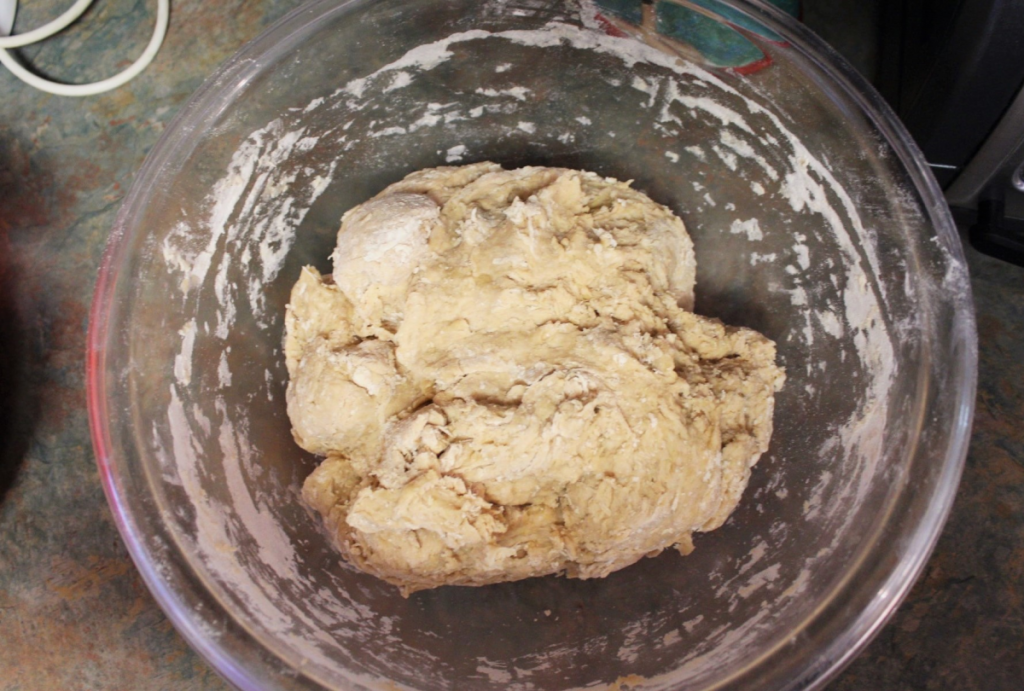
At this point mixing begins to become difficult and kneading on a floured surface takes over.
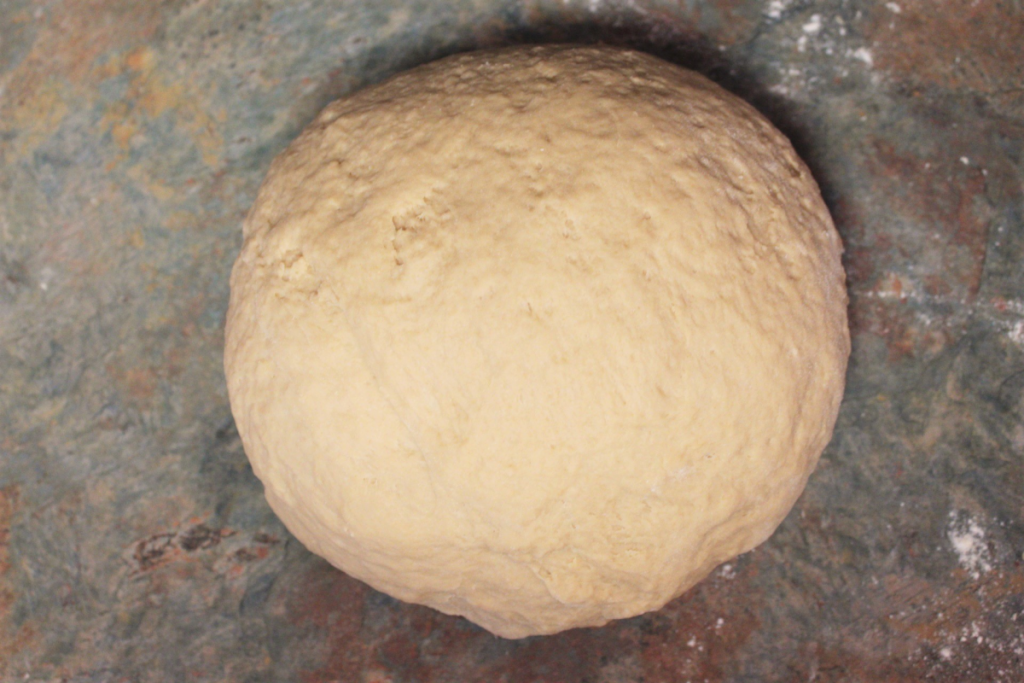
Make sure to knead for the full 10 minutes. The dough should spring back when poked. Grease a large mixing bowl with olive oil, put the ball of dough in, and cover it with a dish towel. Allow it to rise in a warm place for an hour or two. You’ll know it’s ready when it has doubled in size.
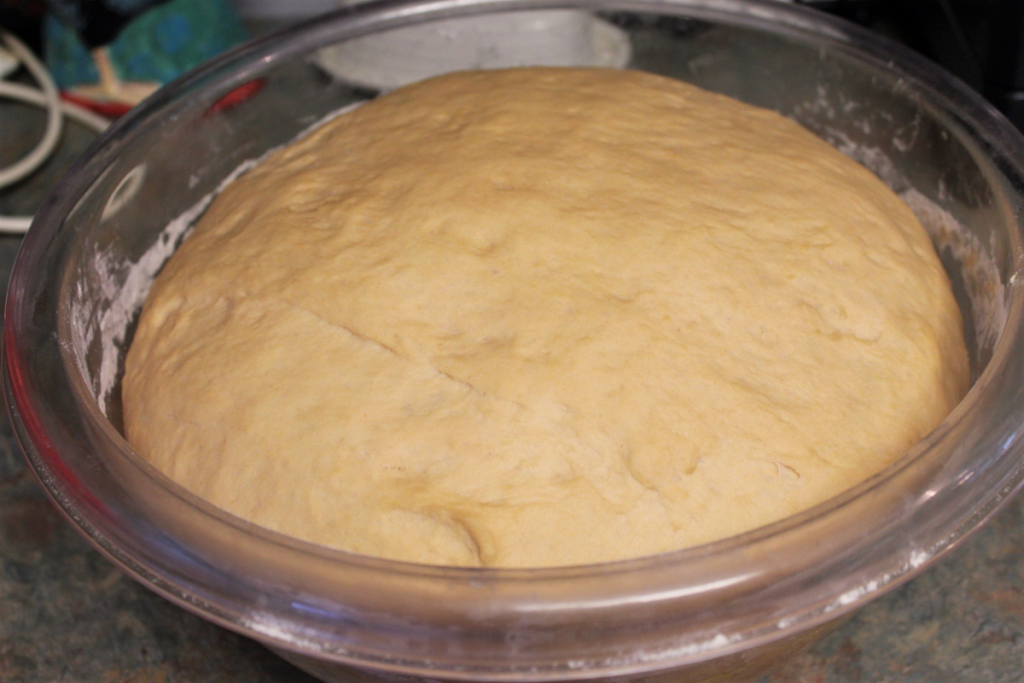
Grease your loaf pans with butter or olive oil. I typically use butter because it works better than oil in my experience, but that might depend on your pans. My Pampered Chef stoneware pans are now seasoned so they don’t necessarily need to be greased every time. (I’m not a consultant with Pampered Chef, I just really like my stoneware pans.)
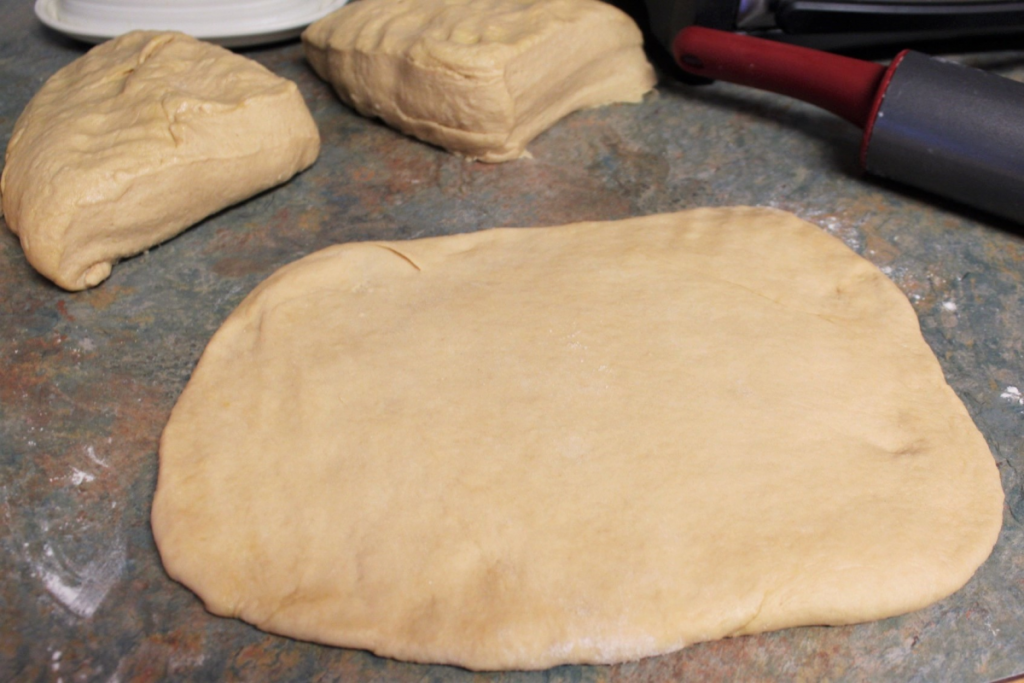
Once the dough has risen, dump it out onto a floured surface. Punch it down, and separate it into 4 parts (if making 4 loaves). I use a serrated knife for this.
Roll out each part into a rectangle with a rolling pin one at a time. Begin to roll up the rectangle tightly by hand (like you would for cinnamon rolls) to form a loaf.
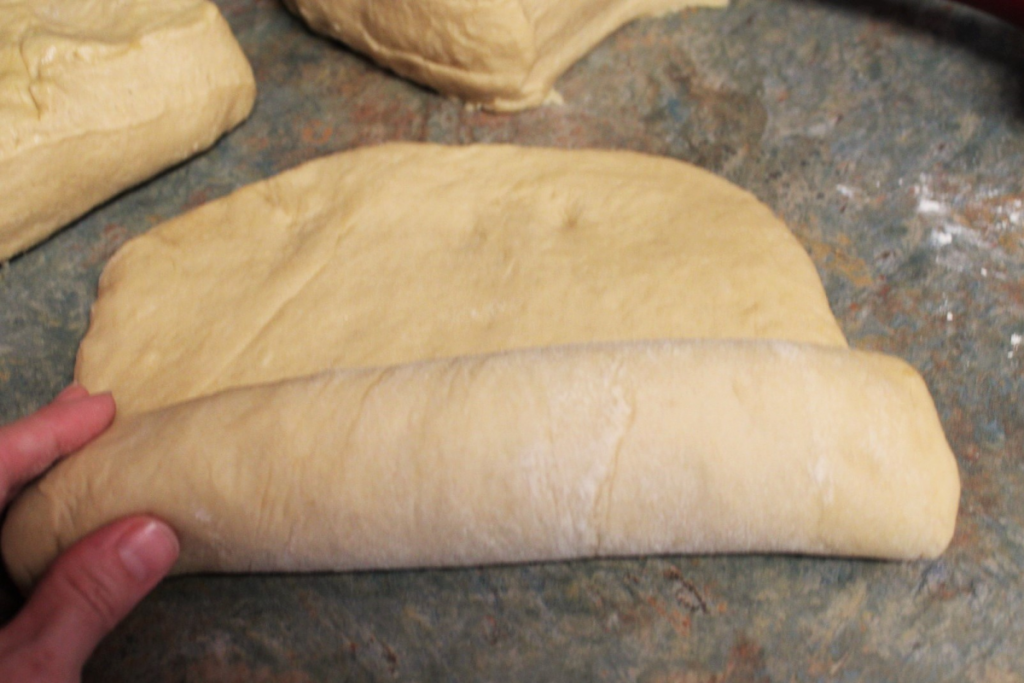
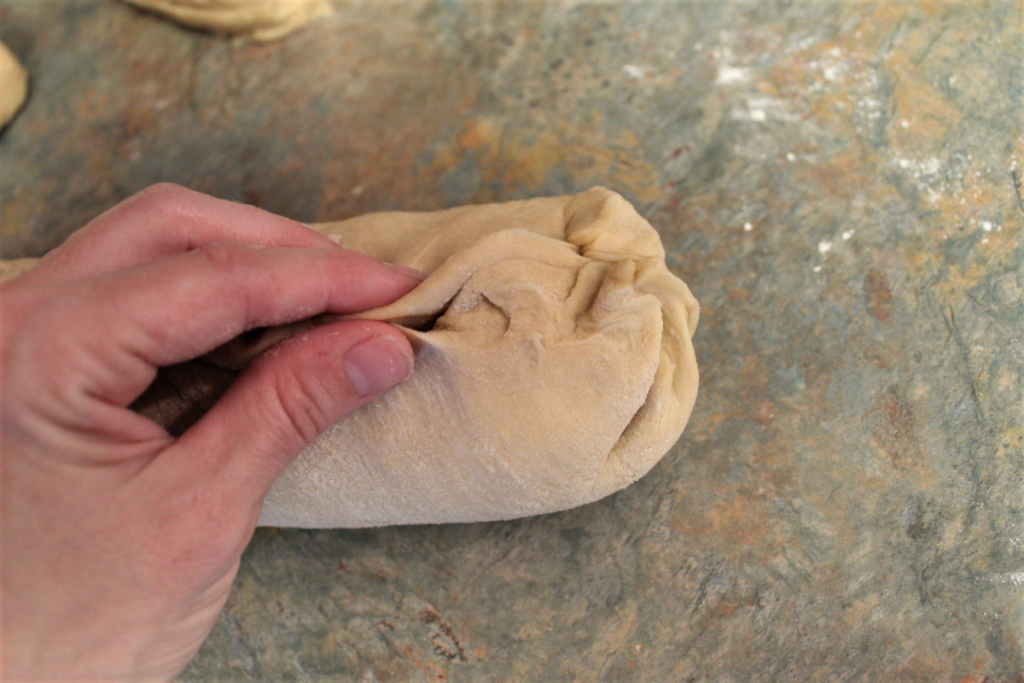
Seal the edges with your fingers creating a seam. Tuck the ends under and place in a loaf pan seam side down. Continue with the other 3 parts (if making 4) until all 4 loaves are formed. Cover and allow to rise in a warm place for 1 to 2 hours or until doubled in size.
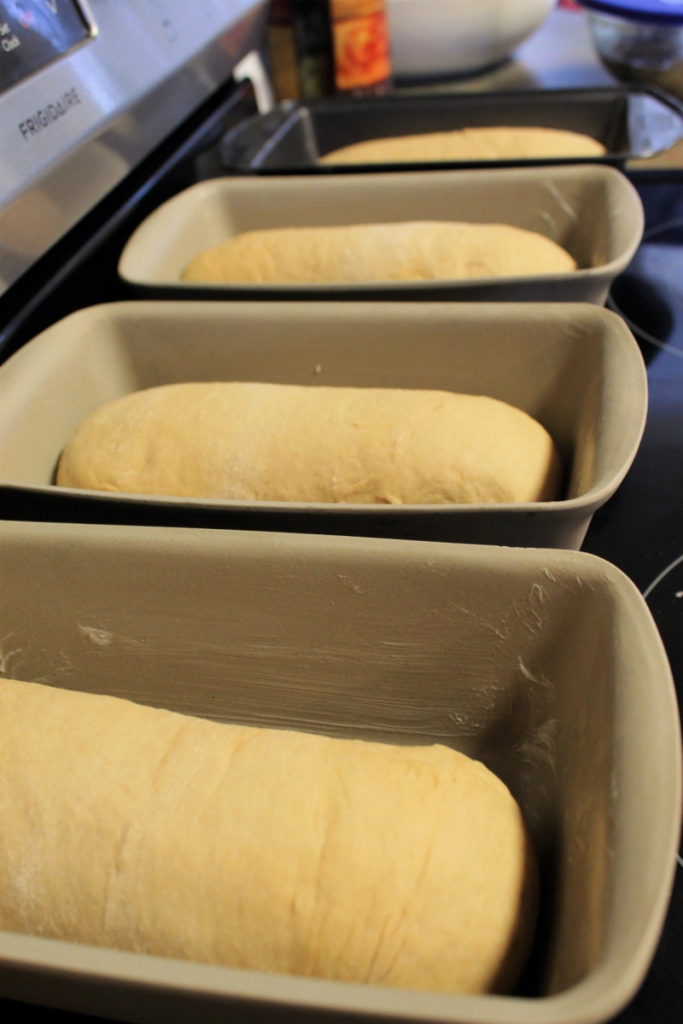
Bake in preheated oven for 25 to 28 minutes (depending on how dark you want the crust to be). I bake 2 loaves at a time together.
Allow the bread to cool COMPLETELY before you cut into it (I dump my loaves out onto cooling racks). It will be difficult with the smell of fresh bread wafting through the air not to cut into it immediately and try a slice after all your hard work (it’s really not that hard, I promise!), but it’s very necessary to allow the bread to rest!
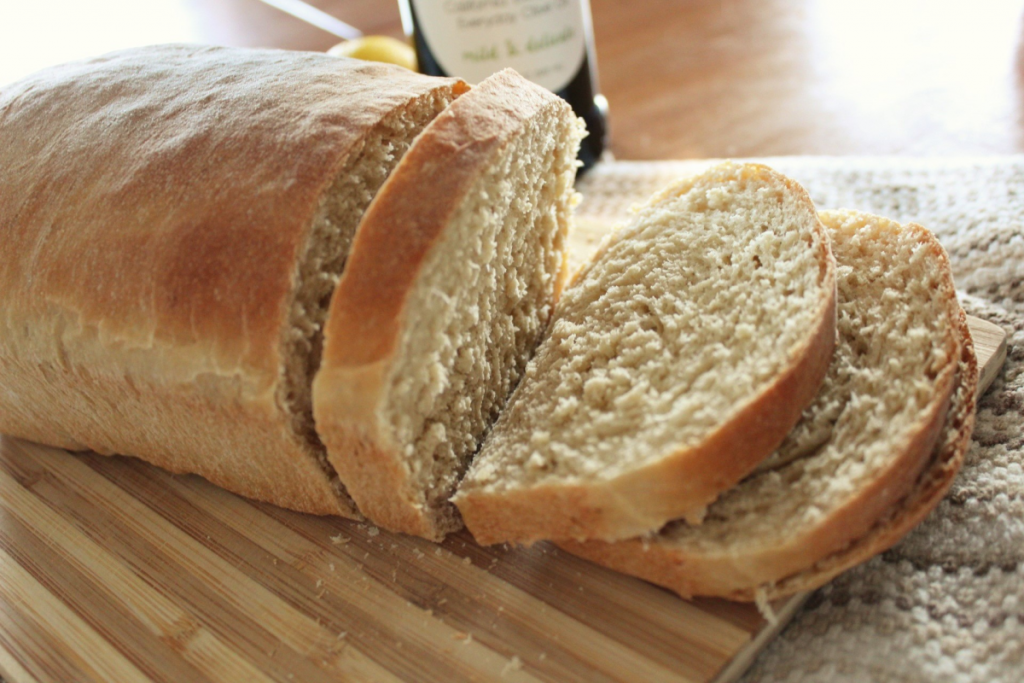
The final step is to wrap all of your fresh bread in plastic wrap once it is completely cooled to help keep it fresh. If making 4 loaves, I generally put 3 in the freezer for future use. Fresh bread is best used in the first couple days of baking so don’t skip this step or all that work will be for nothing.
Another option is to slice all 4 loaves (after they’ve cooled) and freeze them. This way you can take out whatever you need to use for the day in the morning (or night before) and you won’t have to worry about them getting stale. If you do this, be sure to wrap them in plastic wrap so they don’t dry out.
If you do have stale bread, I recommend using it to make bread crumbs, croutons, or french toast!
Honey Wheat Sandwich Bread
Ingredients
Ingredients for 4 loaves
- 4 eggs (in a large liquid measuring cup covered with warm water until it reaches 4 cups)
- ¾ cup honey
- ½ cup olive oil
- 2 tbsp salt
- 8 cups all-purpose flour (plus more for kneading)
- 4 cups whole wheat flour (white whole wheat has a mild flavor and works well)
- 2 tbsp instant yeast
Ingredients for 1 loaf
- 1 egg (in a liquid measuring cup covered with warm water until it reaches 1 cup)
- 3 tbsp honey
- 2 tbsp olive oil
- 1½ tsp salt
- 2 cups all-purpose flour (plus more for kneading)
- 1 cup whole wheat flour (white whole wheat has a mild flavor and works well)
- 1½ tsp instant yeast
Instructions
- Mix all ingredients (in largest bowl you have if making 4 loaves) and knead on floured surface for 10 minutes.
- Cover and let rise in greased bowl for 1 to 2 hours until doubled in size.
- Move to floured surface. Punch down. Divide into 4 portions with a serrated knife (if making 4 loaves), otherwise move to the next step.
- Roll out your dough with a rolling pin to make a rectangle. (Approx. 10 x 12 inch, doesn't have to be perfect.) If making 4, roll each portion one at a time.
- Roll the dough up tightly by hand (like you would for cinnamon rolls) starting on the shorter end to form a loaf.
- Seal the seam with your fingers by pressing the dough together. Tuck the ends, again sealing them by pressing the dough together.
- Place in greased loaf pan seam side down. (You will have four to grease if making 4 loaves.)
- Cover and allow to rise again for 1 to 2 hours or until doubled in size.
- Bake in preheated oven at 350 degrees for 25-28 minutes or until they have reached the desired level of browning. I bake 2 loaves at a time.
- Remove from pans when still hot (I put mine on cooling racks) and allow to cool COMPLETELY before cutting. As hard as this may be, the bread tends to fall apart and the texture is a little off if it’s not totally cooled down. Trust me.
Visit fitandflourish.com for more healthy recipes!
Notes
- Use as much or as little whole wheat flour as you like for this.
- Rise time may significantly increase the more whole wheat flour you use. Also, the texture may come out slightly denser.
- I would highly recommend using white whole wheat flour for the pleasant mild flavor.
- Wrap fresh bread in plastic wrap once it is completely cooled to help keep it fresh.
- If making 4 loaves, store 3 in the freezer. Fresh bread is best used in the first couple days of baking.
- Tip: Slice all 4 loaves (after they’ve cooled) and freeze them. This way you can take out whatever you need to use for the day in the morning (or night before) and you won’t have to worry about them getting stale. If you do this, be sure to wrap them in plastic wrap so they don’t dry out.
- If you end up with stale bread, use it for bread crumbs, croutons, or french toast.


Leave a Reply